Claude Code for Beginners: A Step-by-Step Tutorial

By Alex Morgan
MyClaw Editorial
MyClaw
Run Best-in-Class AI Agents Now
Run OpenClaw or Hermes Agent on managed MyClaw hosting, so your AI agent stays online, updated, and ready for real work.
AI Takeaway
- Claude Code: what is it, in short? It is Anthropic's coding agent. You start it inside a project folder, describe what you want in plain English, and it reads files, proposes edits, runs commands and handles Git. It runs in a terminal, on the web, in a desktop app, in VS Code or JetBrains, in Slack and in GitHub Actions or GitLab CI.
- Do I need a paid plan to use it? Yes. Claude's pricing page, checked Oct 22, 2026, lists Claude Code on Pro, Max, Team and Enterprise but not on Free. Pro costs $20 monthly, or $17 monthly when paid yearly. A Claude Console account with prepaid API credits also works.
- How do I install Claude Code? Paste Anthropic's one-line installer for your operating system into a terminal, or use Homebrew or WinGet. Open a new terminal window and run
claude --version; a working install prints a version number followed by "(Claude Code)". - What should a beginner do in the first session? Run
claudein a small project, sign in through your browser, ask "what does this project do?", request one tiny change, review it, approve it and commit it with a plain-English Git request. - Want help that continues once your coding session is over? A hosted MyClaw agent, running Hermes or OpenClaw, works with most popular models; recurring tasks keep going day and night even with your laptop shut down.
Claude and Claude Code, Explained Simply
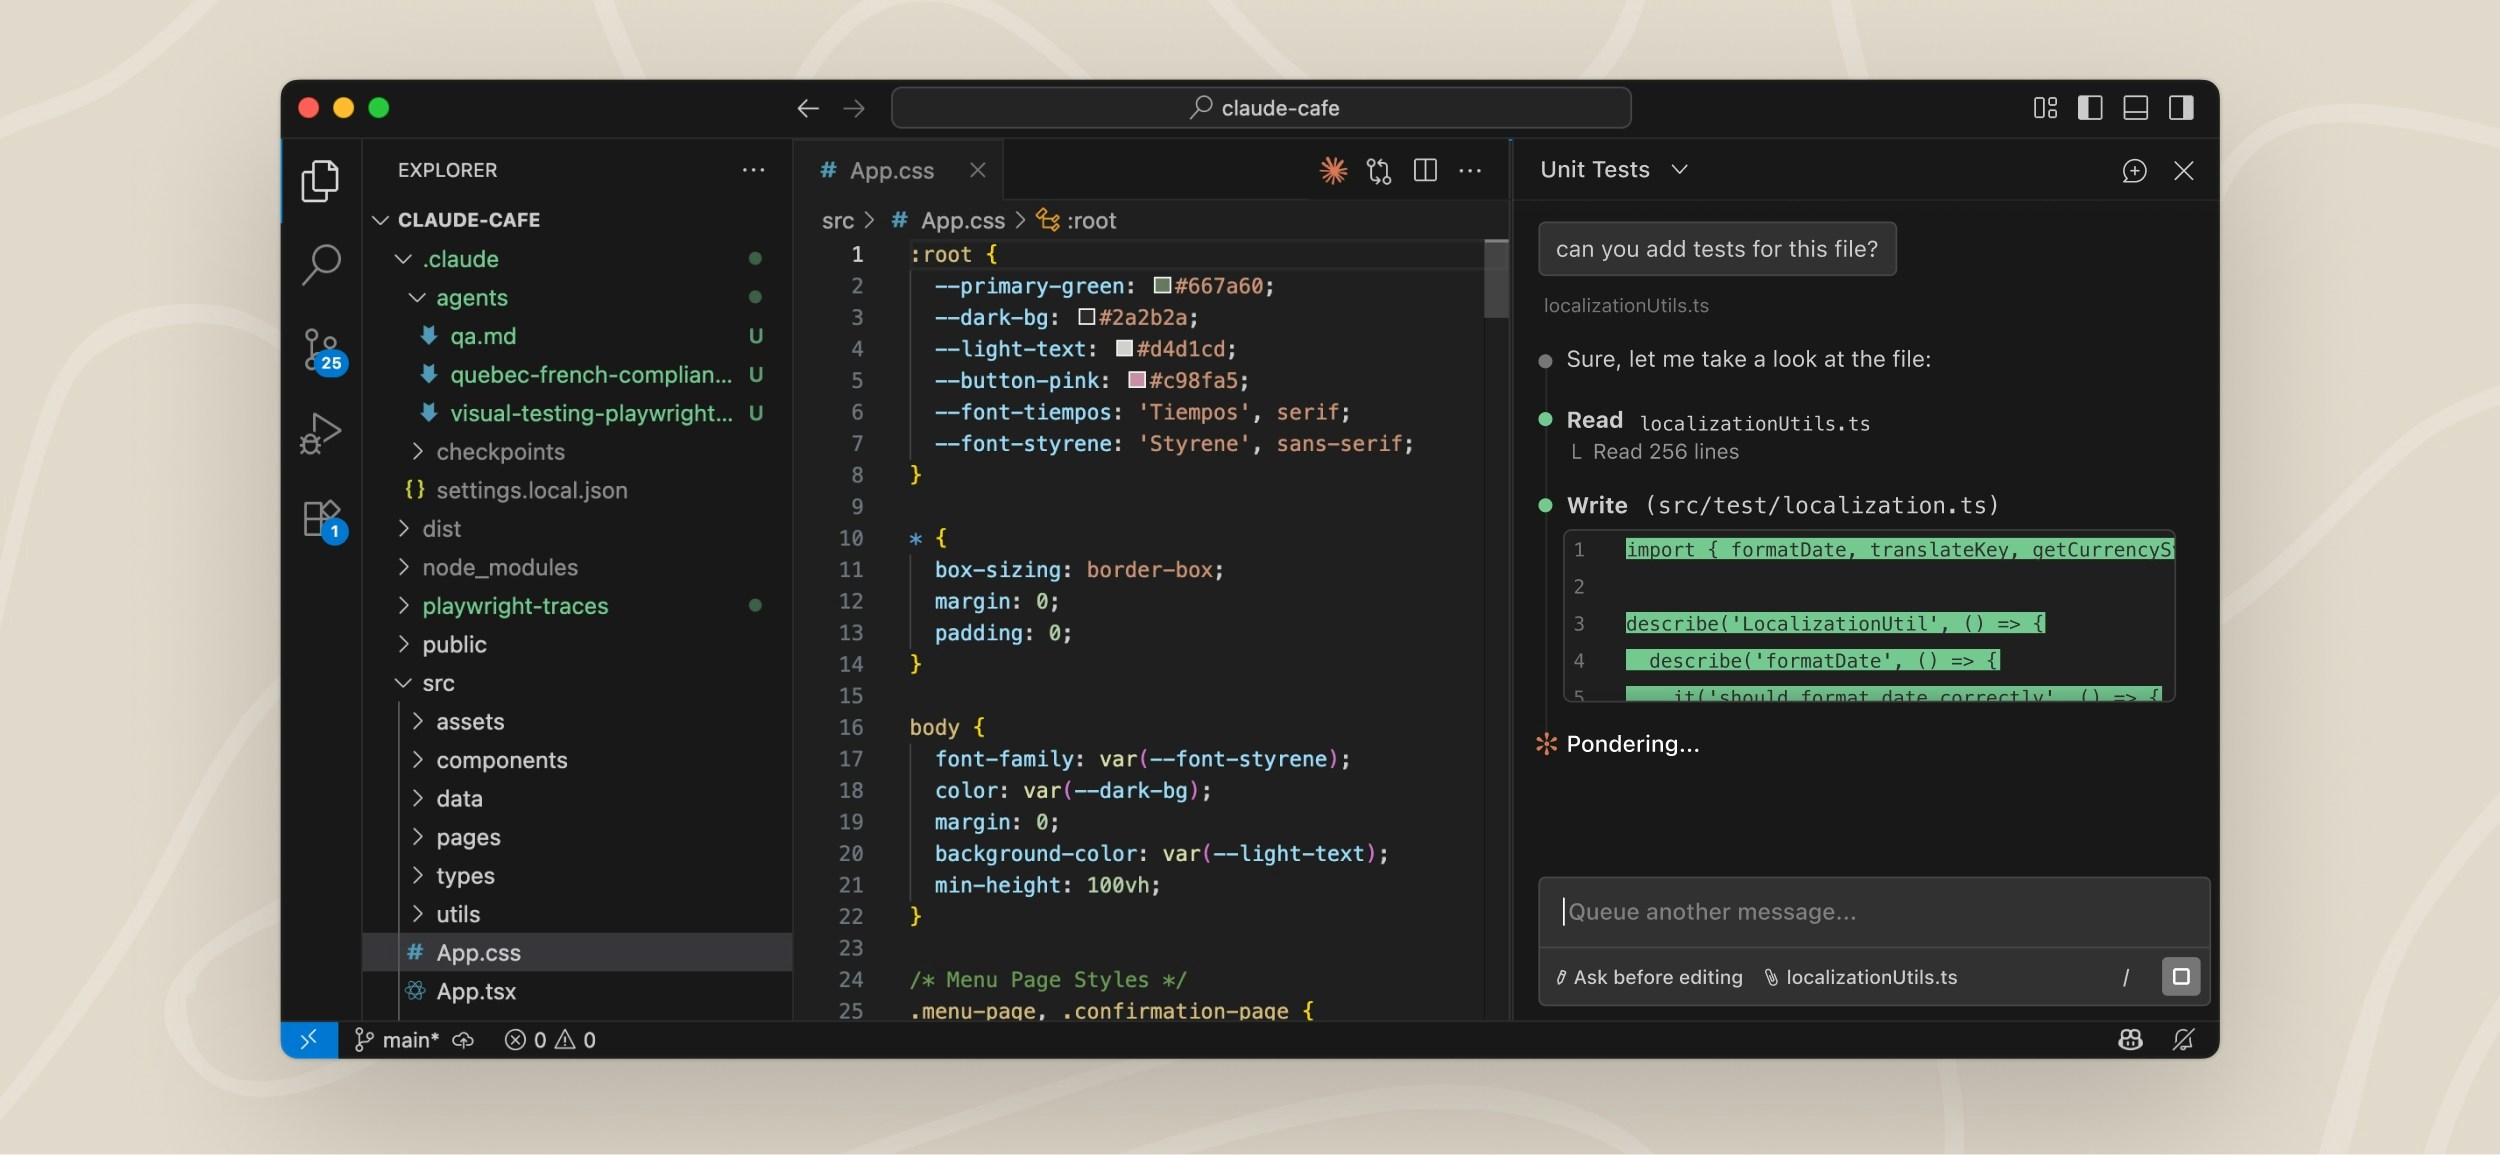
Any Claude tutorial for beginners should start by separating two products. Claude is Anthropic's assistant you chat with on the web, desktop and mobile. Claude Code is a separate agent built for software work. Instead of pasting code into a chat, you launch it inside a project and it explores the files itself, which spares you from adding context by hand.
Because it can act, Claude Code always works within a permission mode that decides which actions need your approval. That is the main idea to understand before you start, and this tutorial shows how to keep it on a short leash while you learn. Choosing between it and an AI code editor? Our Cursor and Claude Code head-to-head covers the trade-offs.
Which Claude Plan You Need
The Free plan teaches you how Claude chat works, but it does not include Claude Code. These are the options Anthropic listed on Oct 22, 2026 (prices exclude tax, and usage limits apply):
| Plan | Price (Claude pricing page, Oct 22, 2026) | Claude Code |
|---|---|---|
| Free | $0 | Not included |
| Pro | $20 monthly, or $17 monthly on a yearly plan ($200 up front) | Included |
| Max 5x / 20x | From $100 a month | Included, with 5x or 20x Pro usage |
| Team | $20 per standard seat a month billed annually ($25 monthly) | Included |
| Claude Console | Prepaid API credits | Included via API billing |
Most beginners should start with Pro and move to Max only if they hit Pro's limits often. If you sign in with Console credits, Claude Code creates a "Claude Code" workspace in the Console on first login so you can track spending. One model you are likely to meet is covered in our in-depth look at Claude Sonnet 5.
Step 1: Install Claude Code on Your Computer
You need a terminal and a project folder. Anthropic recommends its native installer because it updates itself in the background. Pick the command for your system.
macOS, Linux or WSL (open Terminal):
curl -fsSL https://claude.ai/install.sh | bash
Windows PowerShell (your prompt starts with PS C:\):
irm https://claude.ai/install.ps1 | iex
Windows CMD (your prompt starts with C:\ without PS):
curl -fsSL https://claude.ai/install.cmd -o install.cmd && install.cmd && del install.cmd
What you should see: the installer shows no progress while it downloads, so wait for it to return to the prompt. Then:
- Open a new terminal window.
- Run
claude --version. - Confirm it prints a version number followed by "(Claude Code)".
Package managers work too: brew install --cask claude-code on macOS, or winget install Anthropic.ClaudeCode on Windows. Unlike the native installer, these do not update automatically, so run brew upgrade claude-code or winget upgrade Anthropic.ClaudeCode now and then. On native Windows, Anthropic recommends installing Git for Windows so Claude Code can use its Bash tool; without it, Claude Code falls back to PowerShell.
Step 2: Start a Session and Log In
- Open a terminal in a small project you know, ideally one already tracked with Git.
- Move into it and start Claude Code:
cd /path/to/your/project
claude
- On first use, Claude Code asks you to log in. Follow the prompts and finish signing in through your browser with your Pro, Max, Team or Enterprise account, or with a Console account.
- When the session opens, the prompt area shows the version, the current model and the working directory.
You only log in once; your credentials are stored for later sessions. To switch accounts, type /login inside a running session.

Step 3: Choose a Safe Permission Mode
The permission mode sets which actions Claude can take without asking. According to Anthropic's docs, recent versions start interactive terminal sessions in auto mode, where a separate classifier model reviews actions instead of you. For learning, Manual mode suits you better, since it stops and asks before most edits and commands.
Press Shift+Tab to cycle modes and watch the status bar. From auto, the first press switches to Manual, shown as ⏸ manual mode on. Further presses move to ⏵⏵ accept edits on, then ⏸ plan mode on.
| Mode | What runs without asking | Good for |
|---|---|---|
Manual (default) | Reads only | Learning and sensitive work |
acceptEdits | Reads, file edits and common file commands | Iterating while you review in Git |
plan | Reads and exploration, no source edits until you approve a plan | Understanding code before changing it |
auto | Everything, with background safety checks | Longer tasks once you trust the direction |
You can also start in a mode directly, for example claude --permission-mode plan. Anthropic warns that auto mode reduces prompts but does not guarantee safety.
Step 4: A First Walkthrough, From Question to Commit
Here is a complete beginner loop using prompts from Anthropic's quickstart. Claude's exact replies will vary, so read them rather than expecting a fixed output.
- Ask what the project does. Type
what does this project do?Claude analyzes your files and summarizes them. Follow up withexplain the folder structureorwhere is the main entry point? - Request one tiny change. Type
add a hello world function to the main file. Claude finds the right file and shows the proposed change. - Review it. In Manual mode, Claude asks before editing. Read the change it shows. If it looks right, select Yes to approve it; if not, decline and explain what you want instead.
- Check what changed. Ask
what files have I changed?You can also rungit diffin a second terminal to see the edit yourself. - Commit it. Ask
commit my changes with a descriptive message. In Manual mode, Claude asks before running the Git command, so approve it once you are happy. - Try a branch next time. Prompts such as
create a new branch called feature/quickstartorshow me the last 5 commitskeep practice work separate.
Step 5: Give Claude Project Memory With CLAUDE.md
Each session begins with a fresh context, so Claude Code reads a file named CLAUDE.md at the start of every session for standing instructions. Type /init and Claude analyzes your codebase and writes a starter CLAUDE.md with build commands, test instructions and conventions it finds. If one already exists, /init suggests improvements instead of overwriting it.
Tips from Anthropic's memory guide:
- Keep it under about 200 lines; longer files use more context and are followed less reliably.
- Write checkable rules, such as "Run
npm testbefore committing", not vague ones. - Add to it when Claude repeats a mistake or you retype the same correction.
- Use
/memoryto open and edit memory files, and/contextto confirm which ones loaded.
Slash Commands and Shortcuts to Learn First
Shell commands start sessions; slash commands work inside one (Claude Code docs, checked Oct 22, 2026):
| Command | What it does |
|---|---|
claude "task" | Start a session with a first instruction |
claude -p "query" | Answer one question, then exit |
claude -c / claude -r | Continue the latest conversation / pick one to resume |
/help | List available commands |
/init | Generate a starter CLAUDE.md |
/clear | Clear the conversation history |
/compact | Shrink the context to free space |
/doctor | Run a setup checkup |
/exit | Leave Claude Code (or press Ctrl+D twice) |
Type / to see every command and skill available, press Tab to complete, and use the up arrow for earlier prompts. Curious how another coding agent handles the same jobs? See our Codex vs Claude Code comparison.

Troubleshooting Tips for Common Beginner Problems
These fixes come from Anthropic's troubleshooting pages:
claudeis not found after installing: the install folder is not on your PATH yet. Open a new terminal first, then follow Anthropic's "Fix your PATH" steps.- PowerShell vs CMD errors: "The token '&&' is not a valid statement separator" means you are in PowerShell; "'irm' is not recognized" means you are in CMD. Use the matching command from Step 1.
- Something feels broken: run
/doctorinside Claude Code, orclaude doctorfrom your shell if it will not start. - A command hangs: press Ctrl+C. If needed, close the terminal, reopen it and run
claude --resumein the same folder to pick the session back up. - Sessions get slow: use
/compactregularly and restart between major tasks. - Claude edits without asking: the session is probably in auto mode; press Shift+Tab until the status bar shows manual mode.
- Account or billing issues: contact Anthropic support from claude.ai.
Where to Go After the Basics
Once the loop feels natural, the same agent works in VS Code and JetBrains, in a desktop app, on the web, in Slack and in GitHub Actions or GitLab. Anthropic also offers a free Claude Code 101 course on Claude Academy, and its docs cover skills, hooks and MCP connections as the next layer.
Claude Code is built around coding sessions in a project. If you want something that monitors inboxes or runs chores on a schedule, a general agent may fit better. We compare the two approaches in our guide to Hermes and Claude Code.
Run Everyday Tasks With a Hosted MyClaw Agent
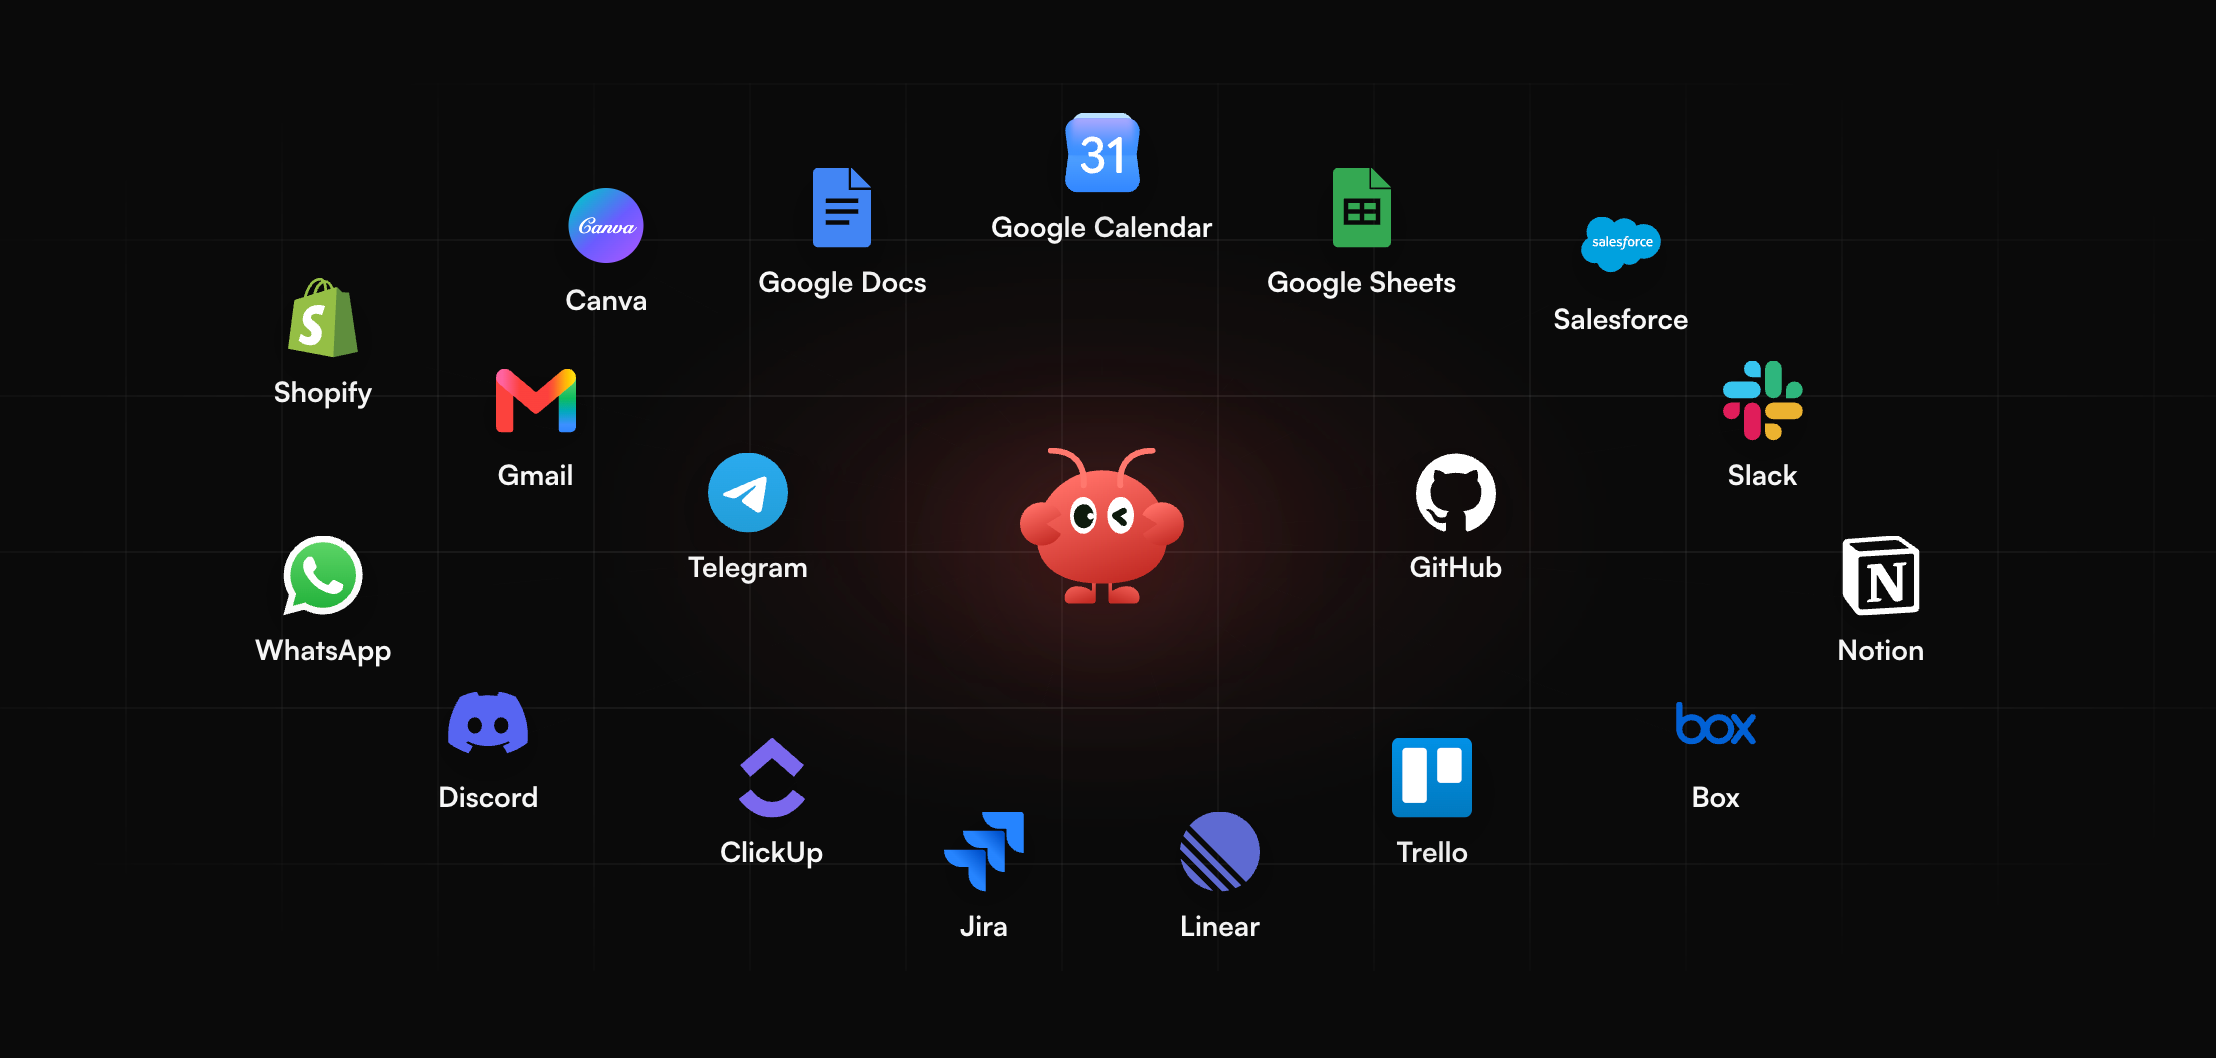
Coding sessions end when you close the terminal, yet plenty of useful jobs repeat daily. With MyClaw, a personal agent keeps running on hosted servers, powered by Hermes or OpenClaw, so your own machine can sleep. On models, MyClaw stays open: it supports most popular models, including Claude Sonnet 5 and 5.5, Opus 4.6 and Haiku 5.5. You can start in three steps:
- Open your MyClaw account and start an agent.
- Pick its model, then link the apps it needs.
- Explain a repeating task, review the early results and set how often it runs.
Conclusion
This step-by-step Claude Code for beginners tutorial comes down to five moves: get a plan that includes it, install it with one command, log in, switch to Manual mode, then practice the loop of asking, changing, reviewing, approving and committing. Add a CLAUDE.md with /init once you know the project, and keep /doctor and /compact handy for problems. The $20 Pro plan (Claude pricing page, Oct 22, 2026) is enough to learn on, and the commands above cover most early sessions.
Skip the Setup, Run Best-in-Class AI Agents Now
Launch a managed OpenClaw or Hermes Agent workspace in minutes, with always-on hosting, updates, and support handled by MyClaw.